

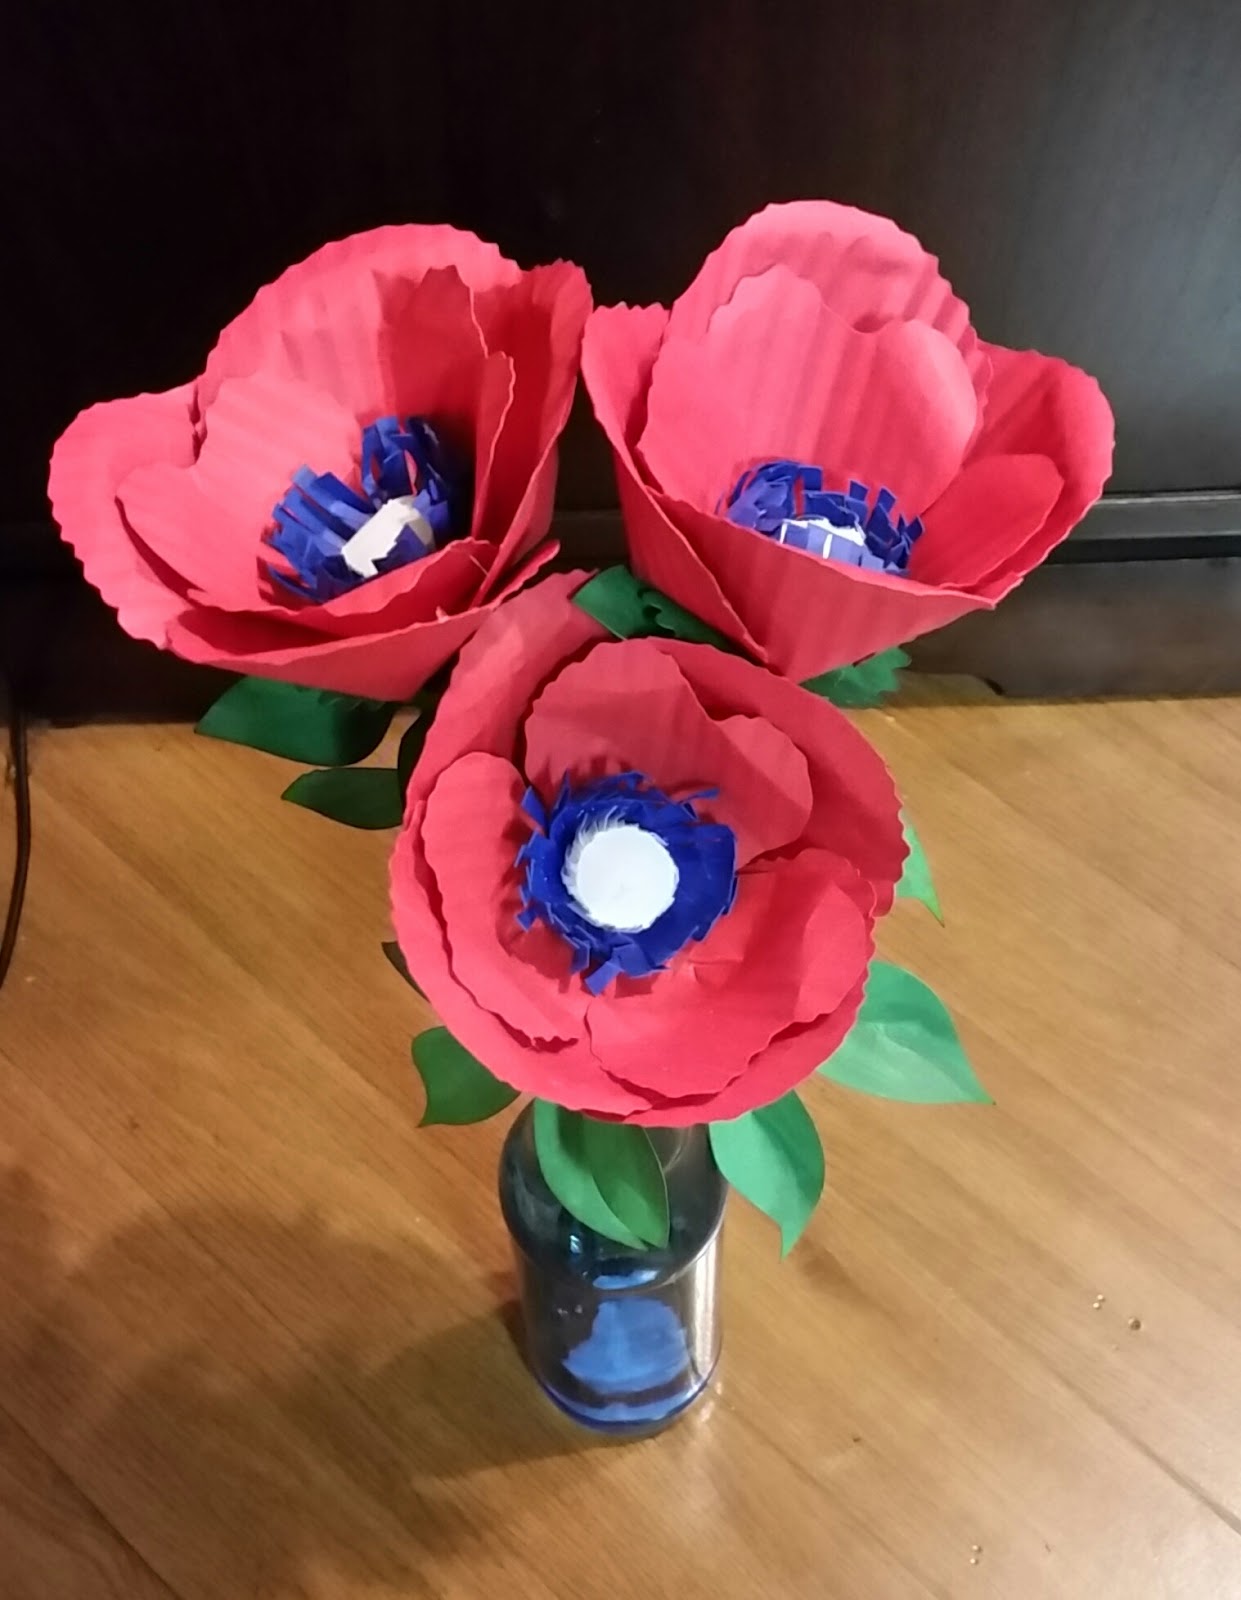
Today I'm making the red, white and blue poppies for my Memorial Day table display. (The lumanaries are from Cricut Make it Now - Independence Day Luminaries and will be included in a future tutorial.)
I used Cricut Design Space and cut the shapes with my Cricut Explore. The Cricut cartridges used are
- Giant Flowers - Poppy #M3FFBE
- Flower Shoppe Leaf - #M46FF7, Stamen - #M46E55


Cut shapes with the Explore

I ran the petals through a crimper to give it a more realistic poppy look.

Heating up 'Little Pinkie'. I love this hot glue station! I'm using hot glue as I feel it gives the flower more stability but you can use your glue of choice.

Run a line of glue along the stem

Fold over the stem to form the petal. I also wrinkeled up the petal a bit and while I forgot to do it, you can also use a pencil or painbrush to round the edges of the petals.

Here are completed petals for 2 flower. Each flower gets four large petals and 3 small ones.

To form the large petal, use the base with four slits. I opened each slit slightly to help ease the insertion.

Push the stem of each large petal in each of the four slots

The stems will be peaking through the bottom when completed. I ran a drop of hot glue to attach the base more securely to the petals but left the stems hanging free. These will be used to hold the wooden stem later.

Repeat for the smaller petals using the base with 3 slits

Push the stems into the slits and hot glue them to the base.


Cover the base with the small circle to hide the 'mess'. Here are the completed large and small petals for two flowers


For the blue inside flower, I used a ball tool to break down the paper fiber to help roll the flower petals up easier. Use a pencil or paint brush to roll the petals inward (I forgot to do that here, learn from my mistake!)

Repeat with the white petal, shape as shown below and glue it to the center of the blue petal


Glue the 3 petal flower to the inside of the 4 petal flower.


Glue the assembled blue/white petals inside the center of the flower


To add a long stem, you can use whatever you have in your stash. I used bamboo skewers here but you can also use wire if you want a more shapeable stem. I used a paper piercer to start a hole in the center of the four little stems we left for this purpose. I did not pierce through the flower, just made a small starter hole. Insert the skewer into the hole and hot glue to the little stems. Notice I'm using finger caps here - that glue is HOT!


Next, I took the stamen and enlarged the hole slightly to fit over the stem. If you're using wire, you shouldn't need to do this. I did this by folding the stamen in half and half again and then cutting across the tip ever so slightly. Then just slip the stamen onto the stem and hold in place with a small drop of hot glue.


Use the Ball tool to draw veins in the leaves. Crease and roll edges to give the leaves a more realistic look. Ink the edges to give dimension and interest.


Use floral tape to cover the stems and wrap in the leaves

Pop your flowers in a bud vase and enjoy!
I hope you will try the Giant Flowers cartridge. There are so many beautiful flowers that you can cut to any size. Here is a link to the Cricut Design Space file - Giant Poppies.
I'd love to hear how you like the tutorial and how you've done with your own creations. Please leave a comment below!!
No comments:
Post a Comment
Comments Always Welcome!